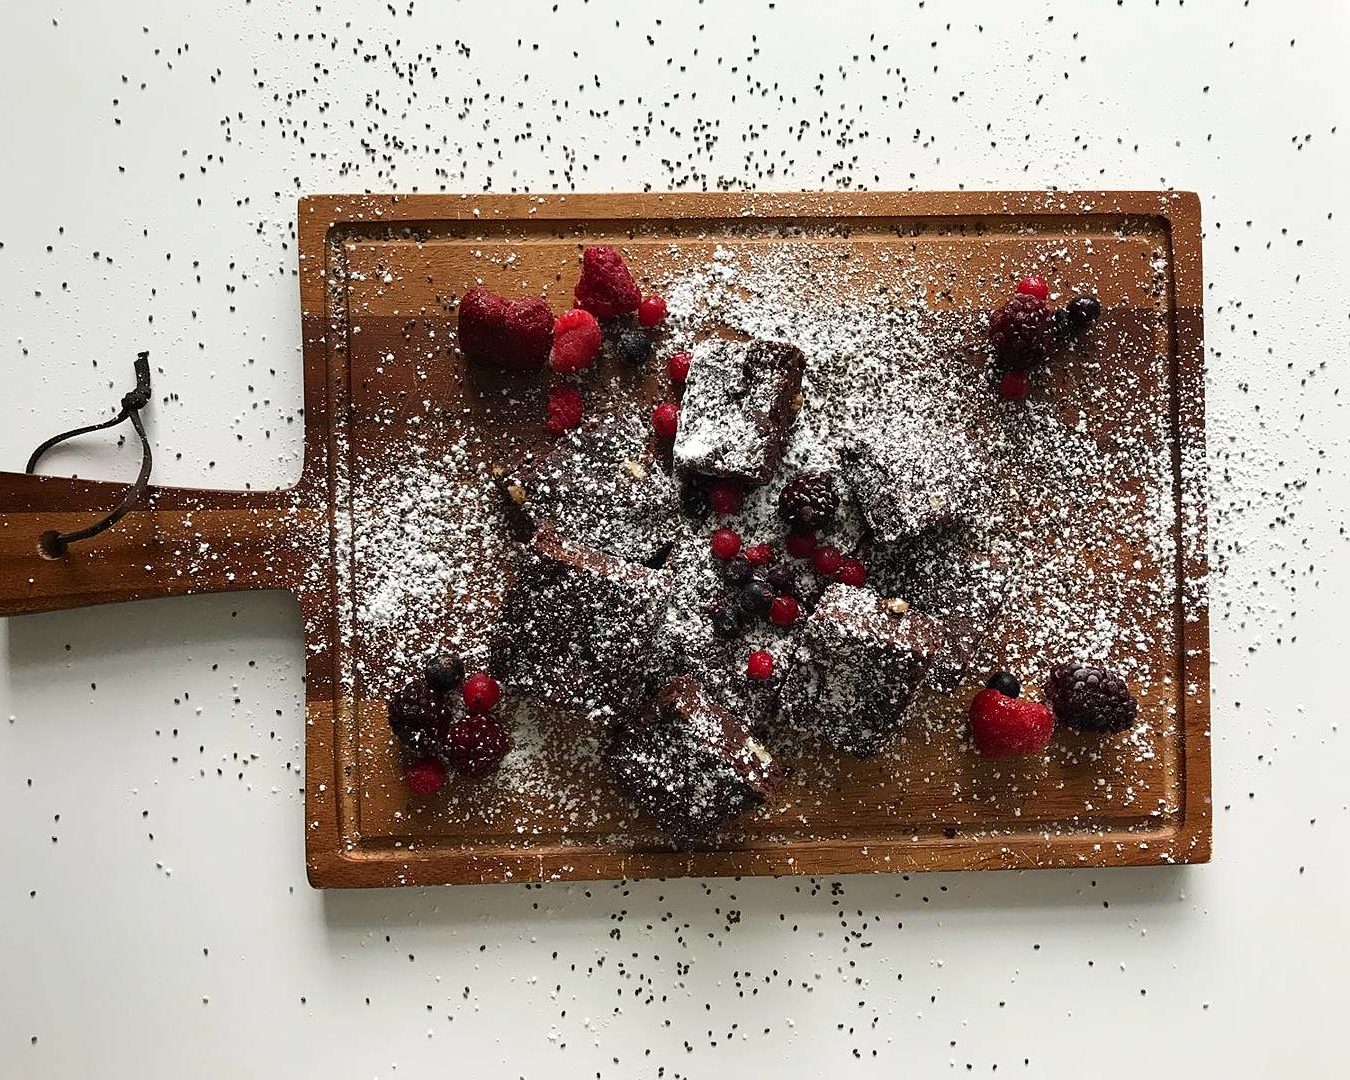
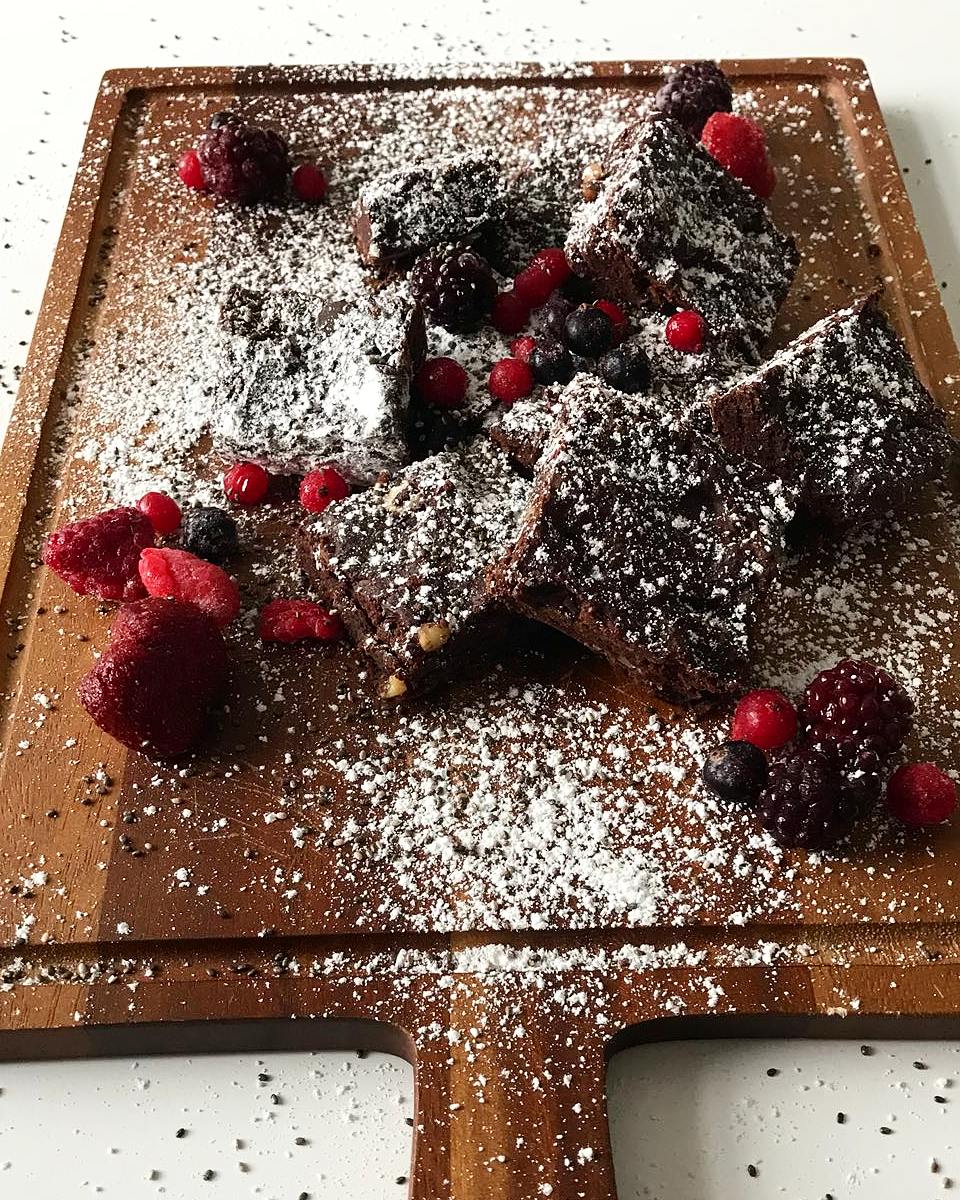
We don’t know anyone who doesn’t love a good brownie and these delicious guilt free chia brownies are vegan, gluten free and contain no refined sugar. They are fudgy. rich and of course chocolatey. They are naturally sweetened with coconut sugar and maple syrup and they’re gluten free thanks to ground almonds and gluten-free flour. We of course added in some chia goodness by using two ‘chia eggs’ – trust me, it works.
We have set a challenge here at Chia Bia HQ for all the staff to bring in their chia-fied recipes and we will let you, our fans, be the judge. Amy from our marketing department kicked things off this week with these scrumptious brownies. Here is the recipe – if you try it out please tag us @chiabiaseed and use #ChiaBiaFam
Ingredients:
2 Chia Eggs (2 tbsp milled chia seed + 5 tbsp water)
1/2 cup melted vegan butter (or coconut oil)
1/4 cup maple syrup (or agave nectar)
1 tsp vanilla extract
1/2 cup coconut sugar
1/4 tsp salt
1/2 cup unsweetened cocoa powder
3/4 cup gluten-free flour
1/4 cup ground almond
Optional: 1/3 cup chopped walnuts + 1/4 cup vegan chocolate chips
Method:
- Preheat oven to 176 C (350 degrees F) and lightly grease an 8×8-inch baking dish with coconut oil, then line with parchment paper (the oil helps the parchment paper stick to the sides).
- Prepare the chia eggs in a small mixing bowl and set aside.
- In a large mixing bowl add the melted vegan butter, coconut sugar, maple syrup and vanilla extract. Whisk thoroughly to combine and start dissolving the coconut sugar.
- Add the chia eggs and whisk once more until combined. Then add baking powder, sea salt, and cocoa powder and whisk.
- Add the gluten-free flour blend and ground almonds and fold with a spatula. Then add the vegan chocolate chips and/or nuts of choice.
- Add the batter to the prepared baking dish and spread into an even layer with a rubber spatula. (Sometimes wet hands work better as the mixture can be quiet sticky)
- Bake for 17-22 minutes in the oven, or until the edges appear dry and slightly fluffy and the center is no longer wet or sticky.
- Remove from oven and let cool in the pan for at least 10 minutes, preferably 45 minutes – 1 hour (the longer they cool, the less tender they will be). Then gently lift out of pan and use a sharp knife to cut into desired number of squares.
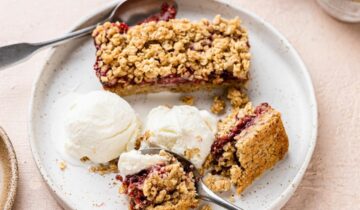
- These are delicious on their own, but would also be great paired with some ice-cream.
- Store completely cooled leftovers in an airtight container at room temperature up to a few days. Will keep in the freezer up to 1 month.
Enjoy!


 No products in the cart.